Bacon Jam
This is the missing condiment. Once you’ve tried bacon jam on your burger you will never go back to boring old shop bought sauces. This jam has the flavour hit of a bbq sauce with the goodness of bacon – what’s not to love!
Servings
many
Ready In:
approx 6 hours
Calories:
who’s counting?
Good For:
burgers and more
Inroduction
About this Recipe
By: Sharyn
This recipe is a guide only, you can change sugars, spices, and vinegar to create the taste you prefer, or to substitute an ingredient that you already have in the pantry. Eg. swap maple syrup for brown sugar, take out sumac if you don’t have any, use a stronger or lighter vinegar, or reduce the cayenne and black pepper to taste. If you cover the basics: smoky bacon, sweetness, and spice, you should come out with a decent jam.
Ingredients
- 1kg double smoked bacon (without rind)
- 500gm white onion (eq. approx 4 large onions
- 2 head roasted garlic
- 1 cup brown sugar
- 1.5 cups apple cider vinegar
- 1 tbsp sweet paprika
- 1 tbsp smoked paprika
- 2 tbsp sumac
- 1 teaspoon cayenne
- 1 teaspoon freshly ground black pepper
The most important ingredient is the bacon. The better the bacon flavour the better the result. Double smoked is preferred but you can go for an easier and cheaper cut, such as short cut bacon or pre-diced bacon. If you like, throw in a teaspoon of mesquite smoke at the end to increase the smokiness – but liquid smoke can ONLY be added at the end of cooking otherwise it will cook out and add a bitter taste to your dish.
To cook this recipe you will need a heavy pot with a lid that distributes the heat well, I use a 28cm Le Crueset stock pot (enamelled cast iron). I prefer cast iron for its excellent heat retention properties. A light weight pot could result in heat spots, an inconsistent simmer, and burning.
You will also need to have a stove top with good heat control. I use induction, but gas will also work if you can keep the flame down to a very low setting without it going out. A standard electricity hob may be too hot for this dish.
The jam should last in the fridge for weeks, or in the freezer for months. I haven’t actually kept any jam long enough to really test its longevity.


Step by Step Instructions
Step 1
Roast 2 heads of garlic.
Simply place whole garlics in 180 degree oven for approx 20 min. Or if you have a fat free fryer pop them in there at 180 degree for approx 10 minutes. Garlic is done if it is gooey soft when squeezed.
Let cool and then peel out the cloves. Garlic will have a yellow translucency.
Step 2
Finely dice onion. If you don’t have a chopping device an easy way to chop is to peel and then cut off the top of onion (just enough to make a small flat base). Place onion onto chopping board cut side down so that root is facing top. With paring knife cut slices from under root straight down to base of onion – the cut should be only on one side of onion. Continue all around the onion. Make each slice as close as possible to the last. When you have circled the onion in fine cuts, lie the whole onion on its side and finely slice from top to root. Discard the root.
Step 3
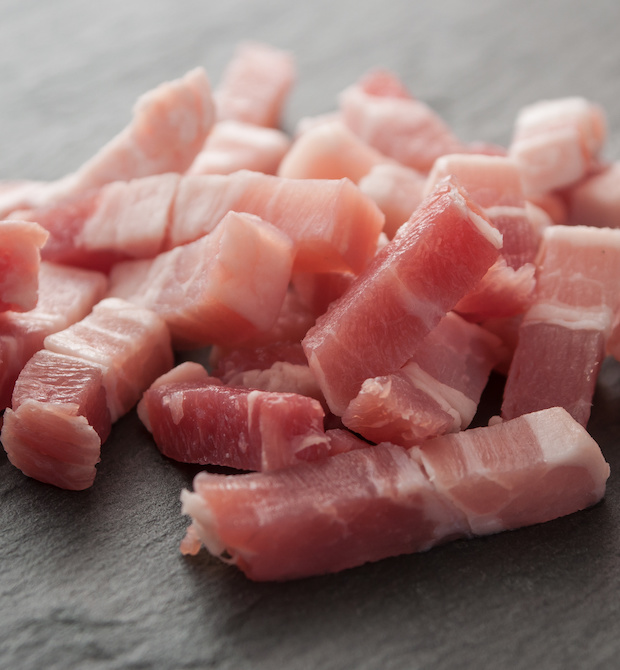
Mince or finely chop bacon. I like to chop, but if you want a softer texture then put it through a mincer. In either case don’t include rind – it will make grissly lumps in your jam.
Remember: You can always mince your jam after it is cooked.
Step 4
In blender or liquidizer combine garlic and cider vinegar. You can skip this step but you will need to smash garlic into a paste before combining with other ingredients.
Step 5
Combine all ingredients in a heavy pot, stirring until liquid comes to a boil. Turn down heat to a low simmer (1 on induction range) and cover pot but leave a crack for steam to escape.
Step 6
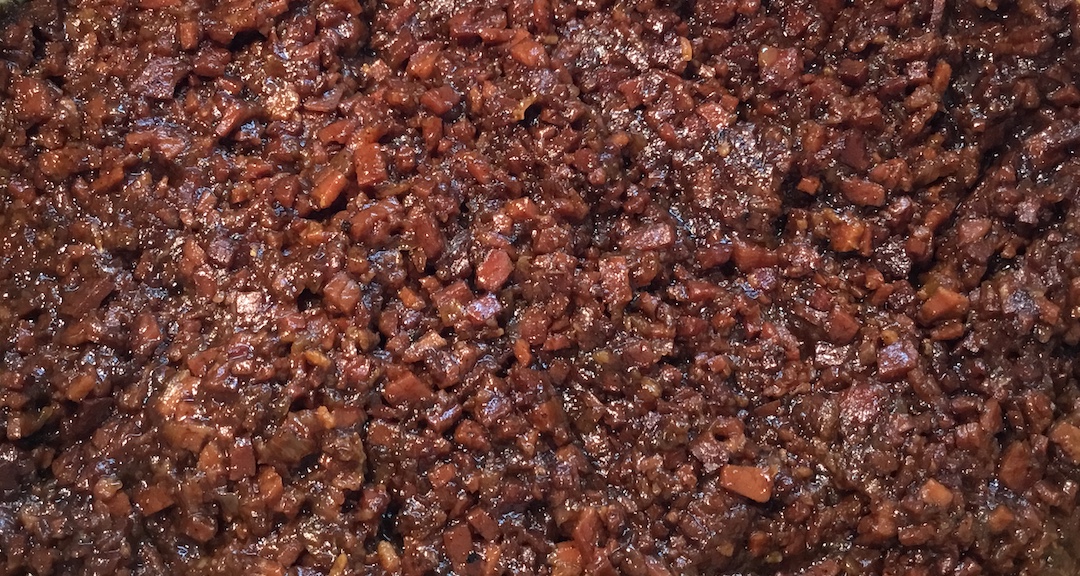
Cook on low simmer for 4 to 6 hours. Cooking time will depend upon fat in the bacon, liquid in the pot, and the heat of the stove. Check and stir from time to time to make sure jam isn’t sticking to pot or burning. When bacon and onions have melded and taken on a consistent mahogany colour your jam is cooked.
You can take lid off during last hour or so of cooking – depending on how much liquid is left. You may need to cook off excess fat and sauce but watch that you don’t dry it out.
Step 7
Cool jam sufficiently to transfer to jars. I like to also store small quantities in vacuum sealed bags which I freeze for later or to give to friends.
At this stage you can also put your jam in the blender to make a paste – this is up to you, it does change the texture and colour but doesn’t effect the flavour.
Best served warmed or at room temperature: Place serving quantity in microwave safe dish and heat until warm.